Vegan Cincinnati Chili
As an Amazon Associate I earn from qualifying purchases.
Cincinnati Chili is one of the all-time great chili styles, but few outside of Ohio seem to know about it. Well, strap on your apron and grab your spice rack, as we’re going to make the most bold-flavor style of chili this side of the Mississippi.
I first had Cincinnati Chili by accident. After ordering what I assumed was “regular” chili, I was confused when the server plopped down a plate of what looked like pasta bolognese absolutely covered in cheese. My first thought was “who TF serves chili ON pasta?”
Well, before I sent my order back, I figured I’d take a bite. And wow! Little did I know that I was having the first incredible taste of a great but little known chili sub-genre.
Besides being served on pasta, the main feature of this chili isn’t the meat. It is the use of umami seasoning and warming spices which is exactly why it veganizes so well.
Since this is a meat-based sauce, the animal-based version can be very heavy. The technique for the traditional version requires you to skim the fat off of the top when it separates so that it becomes less greasy. We don’t have to do that. Vegan meat already has a well-balanced fat to flavor ratio for this recipe leading to an easier cooking experience, as well as eating (and digesting) experience for this dish.
What I also didn’t realize is that this chili recipe has an amazing history.
My understanding is that Cincinnati Chili is a delicacy in Ohio originating from Greek immigrant restaurant owners in the US around the early 20th century. It has evolved into a staple comfort food in the Midwest, but surprisingly, most people don’t seem to know what it is except people from Ohio.
It’s traditionally served over spaghetti and topped with shredded cheddar cheese, diced onions, and oyster crackers. This dish has become synonymous with cozy comfort food for me. It has Greek spices, pasta from Italy, English style cheese, oyster crackers from New Jersey, and hot sauce from the South. Cincinnati Chili is a perfect representation of the beautiful diversity of America and what it can accomplish. I love that.
Create a slurry:
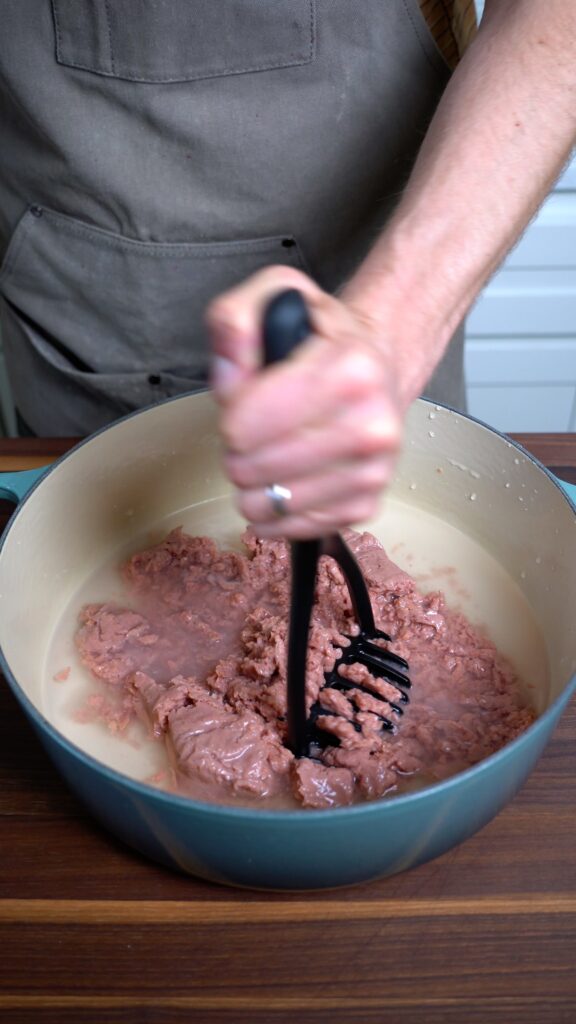
- In a Dutch oven or large pot, combine vegan ground beef with water.
- Note: In these photos I’m making a half batch of this recipe.

- Use a potato masher to pound it (or other utensil) until smooth. This is a weird technique, but it’s going to work!

Add seasonings
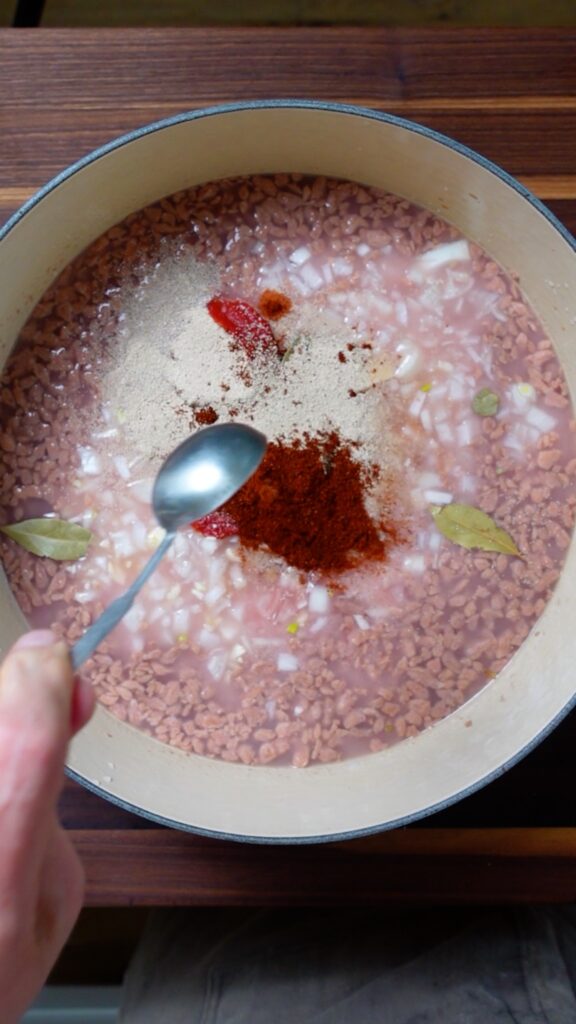
- Add minced onion, garlic, tomato paste, red wine vinegar, vegan Worcestershire sauce, bay leaves, salt, MSG (optional), active dry yeast, nutritional yeast, and spices. Stir together.
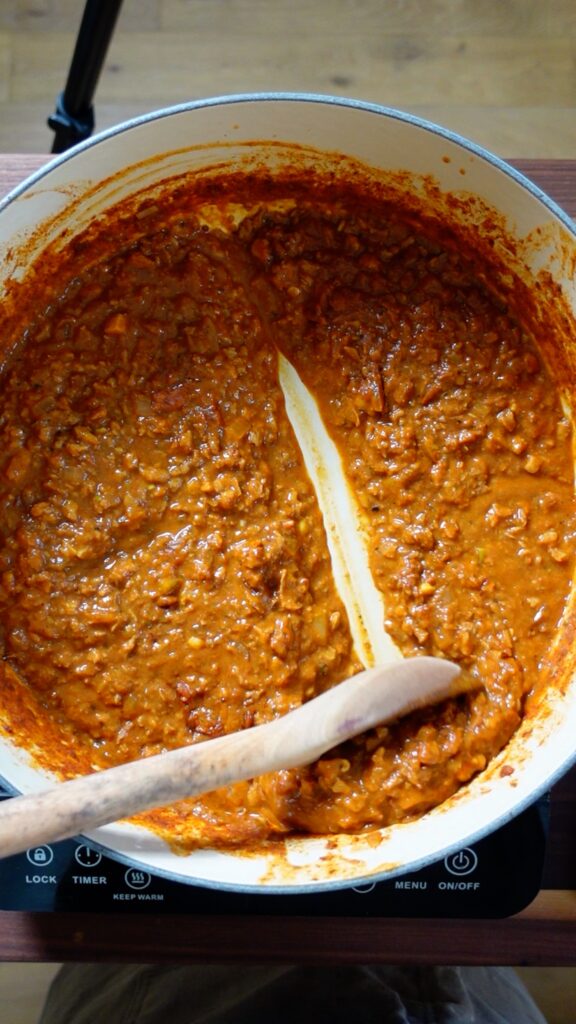
- Cover and bring heat to high – once the mixture begins to rapidly simmer, turn heat to low and gently simmer, uncovered, for 1 hour and 30 minutes. Stir frequently.
Prepare the pasta:
- When the chili is about 30 minutes away from being done prepare the pasta for serving. Generously salt your pasta water and cook the spaghetti for 1-2 minutes longer than indicated on the package, aiming for a slightly softer texture past “al dente.” We want to be able to cut this with a fork and knife.
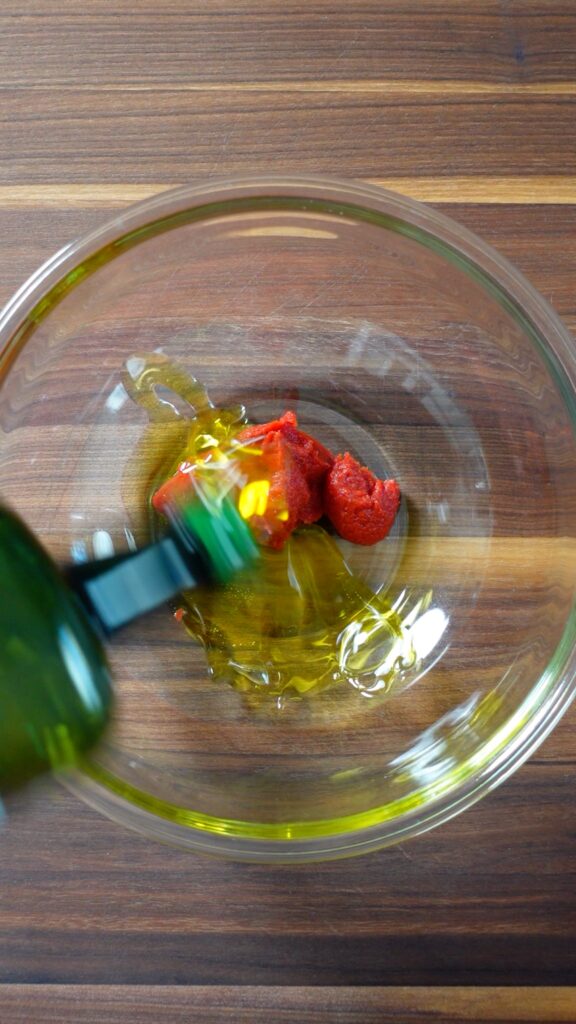
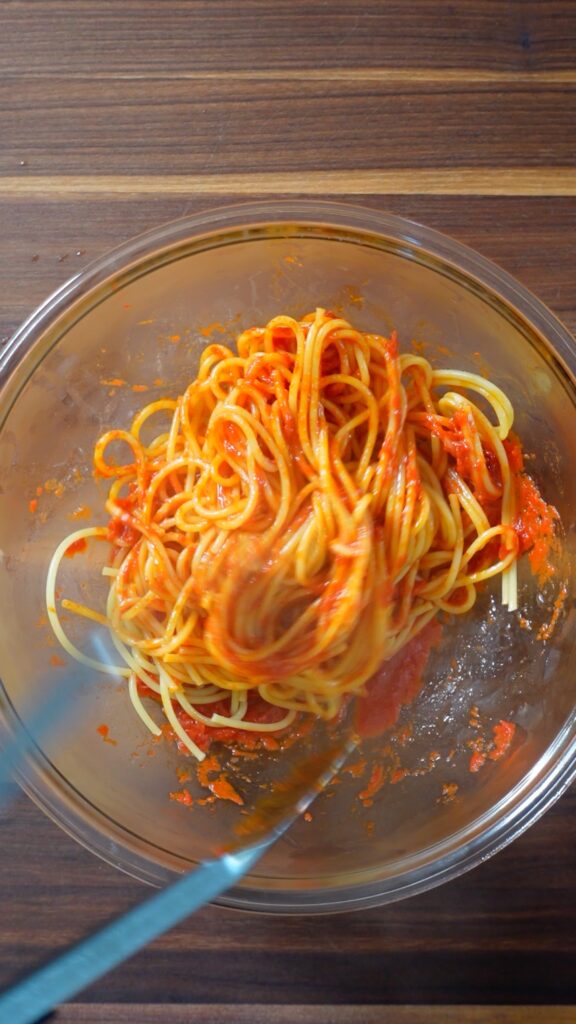
- While the pasta is boiling, whisk together the remaining 3 oz of tomato paste and olive oil in a mixing bowl.
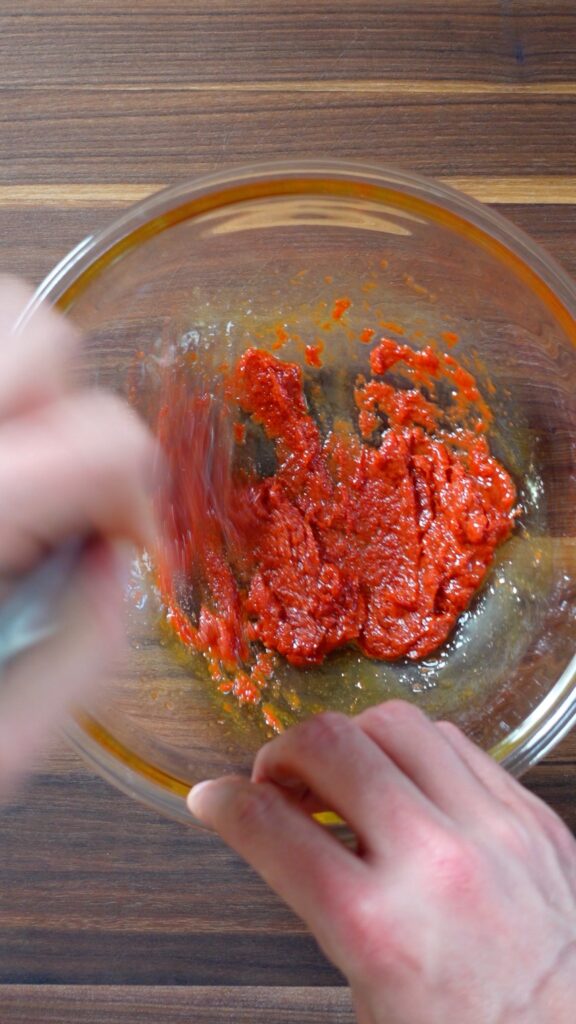
- Once the spaghetti is cooked, don’t drain it! Instead, use tongs to transfer it directly to the mixing bowl with the tomato paste and oil slurry.
- Allow some of the starchy water to drip into the bowl as you mix the all the pasta with the slurry until evenly coated.
Finish the chili:
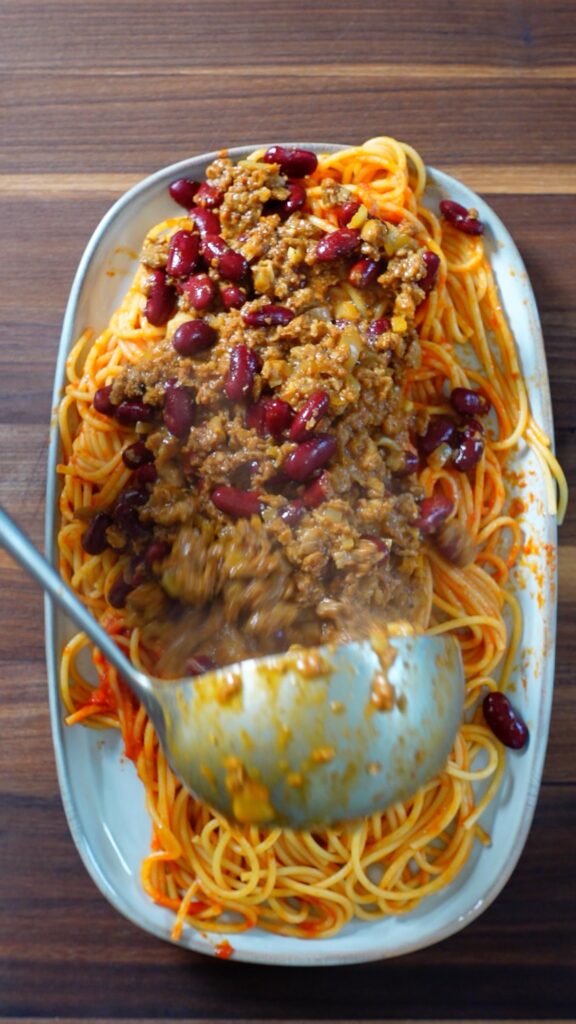
- In the final moments before serving, stir in the drained canned kidney beans.
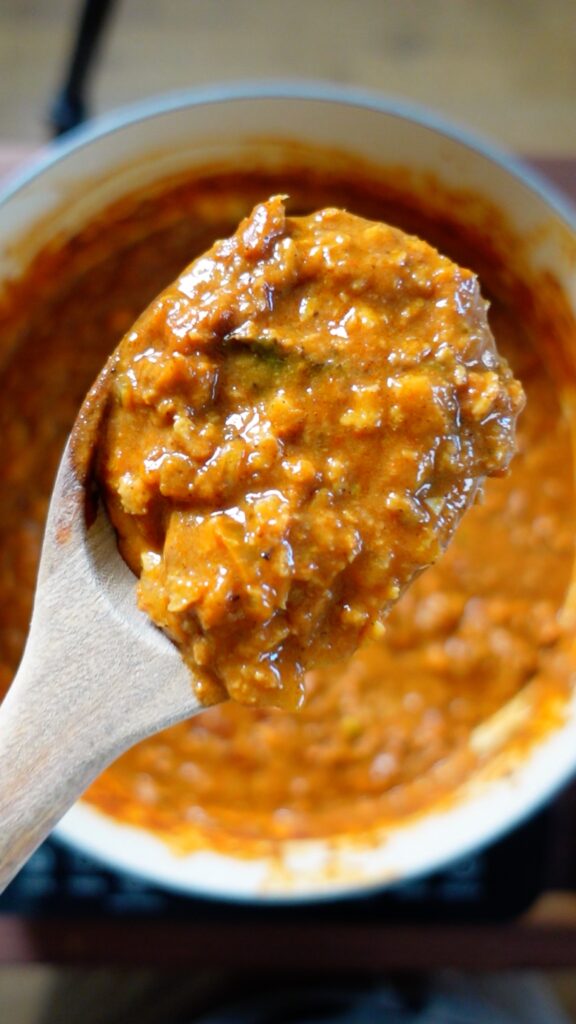
- You’ll know the chili is reduced enough once you can put a spatula through it and it will stay separated momentarily.
Serve:
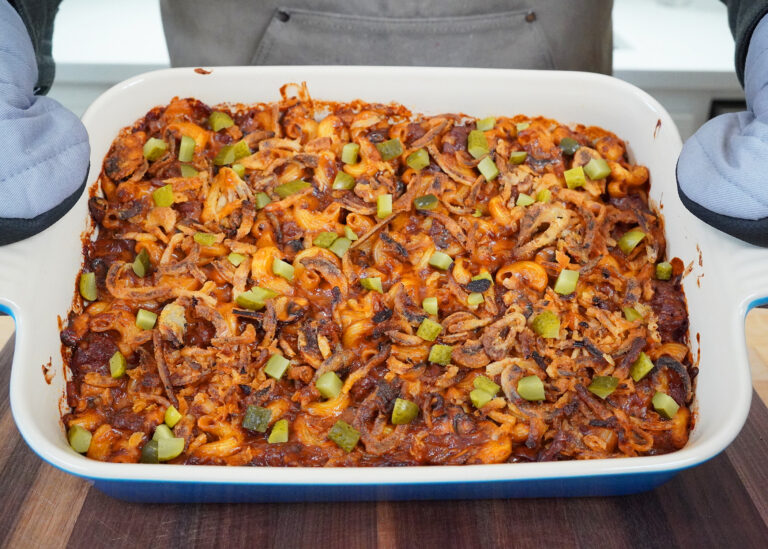
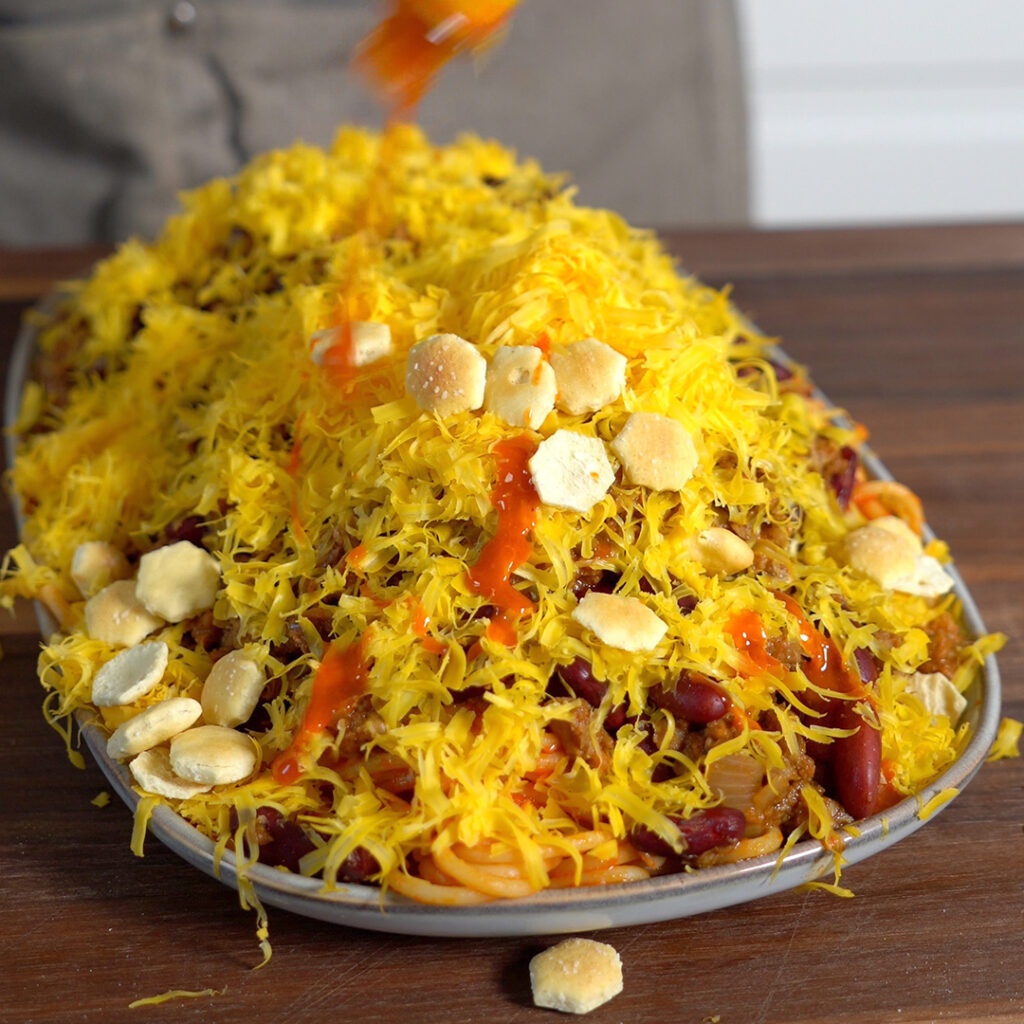
- To serve, plate the spaghetti on an oval plate (this is the “traditional” style plate but you can use whatever you like). I’m putting everything on one plate in the photos, but you could separate this into portions if you like.

- Ladle the chili over the spaghetti…
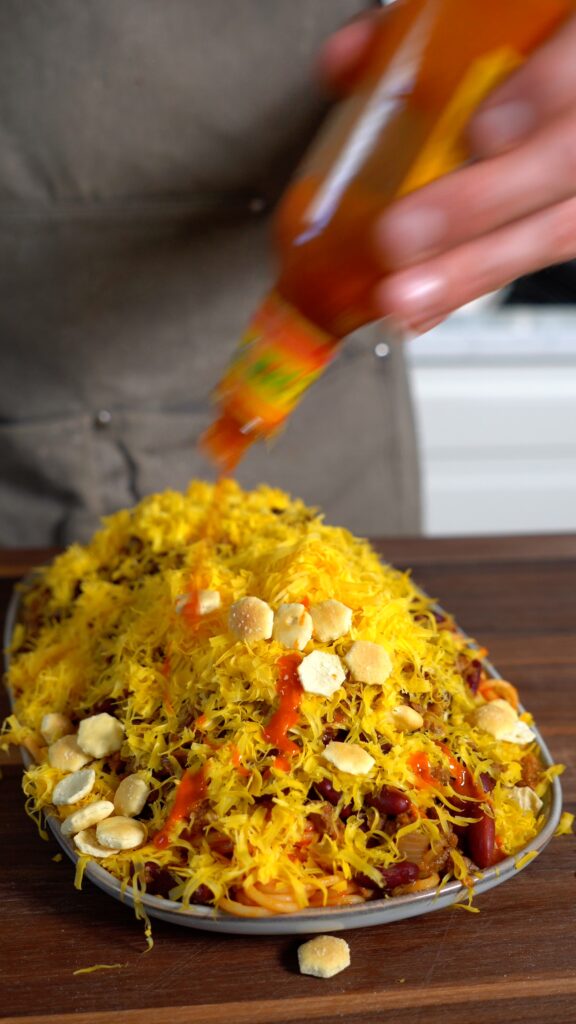
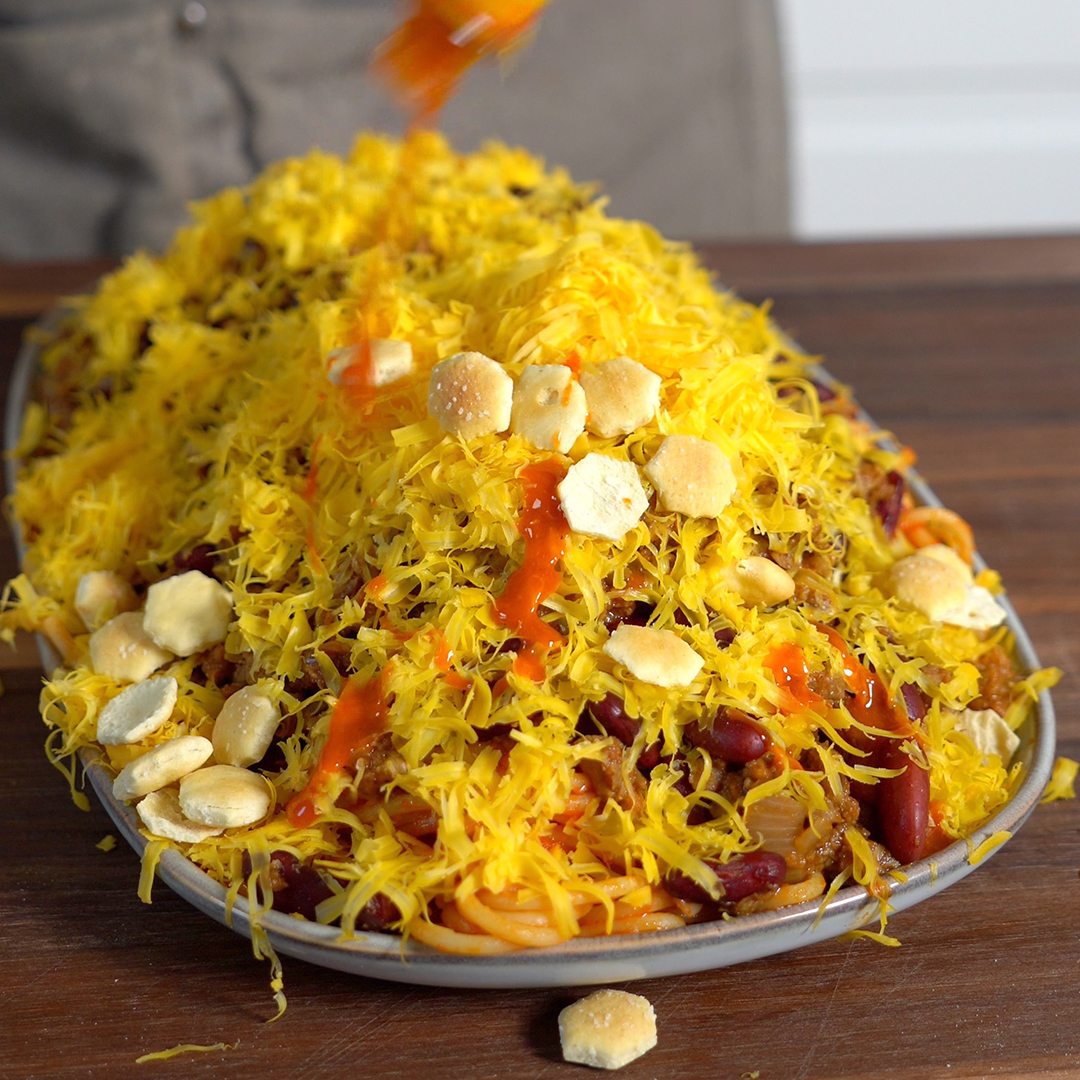
- Sprinkle diced onion to taste and generously top with finely shredded vegan cheddar cheese…

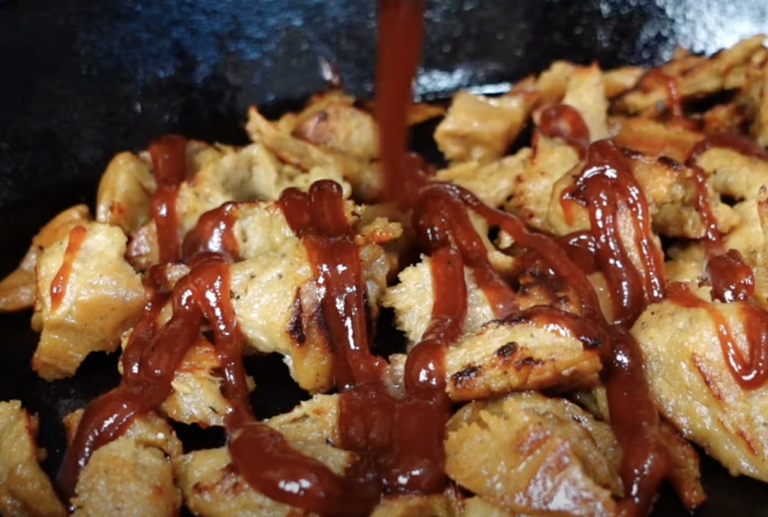
- and serve with oyster crackers and offer hot sauce on the side for added flavor. I’m about to EAT this so I just added it on top. I like to allow guests to add their own hot sauce and spoon on crackers to taste.
Commonly Asked Questions
Is this recipe gluten free?
I’m no expert on what is and is not gluten free, but to my knowledge the only thing that has gluten is the pasta. Sub that with a gluten free analogue and you should be all set. Please check your ingredients as products vary in what they contain.
Can you double this recipe?
Not only can you double this recipe, you can also halve it if it is too much. I highly encourage cooking the whole thing and having leftovers.
Can I freeze the leftovers?
This dish tastes even better the next day and if somehow you don’t end up eating all of it, yes, you can freeze leftover chili, but NOT the spaghetti! Only freeze the chili and then cook up the spaghetti fresh with each batch. In general, never freeze cooked pasta.
Can I sub or omit the MSG?
MSG really is uncommon in western kitchens and I hope that changes soon. Yes, you can omit the MSG if you don’t have it, but I highly recommend you get some!
Ingredients:
- Vegan Ground Beef: You can use either Beyond Meat or Impossible vegan ground beef. It serves as the hearty base for this chili, mimicking the texture and flavor of traditional meat without any animal products. I personally prefer Beyond as it comes in 1lb packs which makes it easier for this specific recipe, but again, both work.
- Active Dry Yeast: This recipe was inspired by the non-vegan Serious Eats version of this recipe, which featured the use of dry active yeast. You know, the stuff you put in flour to make it rise. It has a great savory flavor. Here is the yeast I use.
- Nutritional Yeast: A.K.A. “nooch,” is deactivated yeast. This dish is all about building a supporting cast to the meat and the seasonings, so we’re also adding nutritional yeast to this recipe too. This will help build a umami base for the aromatics to jump off of and make this an incredibly satisfying dish. I buy in bulk, here is what I keep on hand so I never run out.
- Oyster Crackers: These little fun bite-sized saltine-style crackers add a nice crunch to each spoonful of chili, balancing out its soft texture.
- Vegan Cheddar Cheese: I like to use a block of vegan cheddar cheese for shredding, as it melts beautifully and adds a rich, cheesy finish to your chili. If you can’t find a bock, try using slices on a shredder. If you must use pre-shredded, run them through a food processor first so that they actually melt on the chili.
- MSG: This ingredient gets a bad rap for un-scientific reasons that we won’t go into on this recipe. My advice? Don’t be afraid of MSG. The slander against this product is just nefarious and wrong and it will make your cooking taste better. It’s a real life cheat-code. Here is what I use in my kitchen.
Equipment:
- Dutch Oven: A sturdy Dutch oven, like this buy-it-for-life Le Creuset I use, is ideal for simmering the chili to perfection. If you use a standard pot, make sure you check it more often as heat will transfer more directly to exactly where it is applied.
- Potato Masher: Use a potato masher (here is mine) to blend the vegan ground beef with water, ensuring a smooth and consistent texture.
- Cheese Shredder: It may seem counter-intuitive for a vegan to own a great cheese grater (here is what I own and love), but this is a versatile tool for a kitchen, especially since you get best results from shredding a block of vegan cheese. For this recipe use the smallest holes to finely shred the cheese. The finer it is, the easier it will melt from the heat of the chili.
Vegan Cincinnati Chili
Cincinnati Chili is one of the all-time great chili styles, but no one outside of Ohio seems to know about it. Well, strap on your apron and grab your spice rack, we're going to make the most bold-flavor style of chili this side of the Mississippi.
Ingredients
- 2 pounds (900g) of vegan ground beef
- 4 & 1/4 cups (approx. ~1L) water
- 2 white onions, minced
- 8 medium-sized cloves garlic, minced
- 6 oz (1 American style can / 170g) tomato paste, divided
- 2 tablespoons red wine vinegar
- 1 tablespoon vegan Worcestershire sauce (omit if unavailable)
- 2 teaspoons (approx. 13g) salt
- 1 teaspoons MSG (optional)
- ¼ cup (approx. 33g) active dry yeast
- 2 tablespoons Nutritional Yeast
- 2 tablespoons chili powder
- 2 tablespoons paprika
- 1 teaspoon ground allspice
- 1 teaspoon cinnamon
- 1 teaspoon cumin
- 1 teaspoon oregano
- ½ teaspoon cayenne pepper
- ½ teaspoon ground cloves
- ½ teaspoon ground ginger
- 4 bay leaves
- 1 teaspoon black pepper
- 1-2 cans (~15oz each) kidney beans, to taste
- For Serving:
- 16 oz (approx. 450g) of spaghetti
- 4 tablespoons olive oil
- ½ white onion, diced
- Finely shredded vegan cheddar cheese from a block (use the small holes on the grater)
- A few dashes of your favorite hot sauce, to taste. (I prefer Tapatío. If you want to go for a traditional hot sauce used a vinegar based one e.g., Tabasco, Crystal)
- Oyster crackers
Instructions
- To a dutch oven or a large pot add your vegan ground beef and water. Using a potato masher, sturdy whisk, or large fork, vigorously mash up your vegan ground beef into the water until the water and meat are combined. You’ll know you’re done when it is the consistency of a slurry and any bits left floating in the mixture are no larger than a pencil eraser.
- Add in the onion, garlic, 3oz (half a 6oz can) of tomato paste, red wine vinegar, vegan Worcestershire sauce, bay leaves, kosher salt, MSG (if you don’t have it skip it), dry active yeast, nutritional yeast, chili powder, paprika, allspice, cayenne pepper, ground cinnamon, cumin, oregano, black pepper, ground cloves, and ground ginger. Stir until all ingredients are thoroughly mixed.
- Cover the pot and bring to a rapid simmer, just before it starts to boil. Then lower the heat to low and cook, uncovered, for 1 and a half hours. Stir frequently and adjust the heat as needed every 10-15 minutes or so. If you get bits stuck to the bottom of the pot, that is a sign to stir more. You’ll know the chili is done cooking when it has the consistency of a pasta sauce. You can cook for up to an additional 30 minutes if needed to get to the consistency you desire. You can also add water one tablespoon at a time to loosen the mixture if needed.
- When your chili is 15-30 minutes from being done mix in the drained canned kidney beans then prepare the spaghetti. Salt your water to taste and boil your pasta for 1-2 minutes past the prescribed time on the box. This is traditionally a knife and fork dish and we want to be able to easily cut the pasta so cook it to be slightly softer than how you’d traditionally prepare this pasta.
- While the pasta is boiling, use a mixing bowl to whisk your remaining tomato paste (3oz) with the olive oil. When the pasta is finished boiling, don’t strain it, instead use tongs to gently lift the pasta out of the water and transfer it to the mixing bowl with your tomato paste/oil mixture allowing the starch water to drip into the bowl. Mix your cooked pasta with the slurry until it is coated and your pasta is slightly red from the sauce. Now we serve.
- Then to a bowl, or traditionally/ideally an oval plate, add your pasta, ladle on your chili (remove any bay leaves), add diced onion to taste, generously add large heaps of finely shredded vegan cheddar cheese. Serve with oyster crackers and hot sauce.
- Enjoy!